
Locking Down an Intranet with Sitecore Identity Server and Azure AD
For one of my recent projects, I was tasked with creating an intranet for a client. This intranet had a requirement to use Azure Active Directory as it's authentication source. I've found plenty of articles online that do this by directly connecting your CM server to Azure AD, but what if you wanted to use Sitecore Identity Server to normalize your claims? Sitecore provides us by default with a Azure AD plugin, which pretty much works automatically for the backend, but what about front end users? I'll go through the steps it took me to set this up.
Register an Application in Azure
First things first, we need to create an application in Azure to allow any of this to happen.
- Inside your Azure Portal, go to App Registrations and press + New Registration.
- Name your App, and select the supported account type the suits your needs. (The first option fits most use cases)
- For Redirect UI, we need to put the address to the Identity Server with the /signin-oidc at the end of the URL. Example: id.sitecoreserver.com/signin-oidc. Also set the Platform type to: Web.
- Press Register! You should now be on the Overview screen.
- On the Overview panel, write down your Client ID and Tenant ID. We'll need these later when we configure the Azure AD plugin in Identity Server.
- On the menu on the left, press the Manifest option. Inside the manifest, update the
groupMembershipClaimsvalue toSecurityGroup. - Lastly go to the Authentication menu option. Under Implicit grant and hybrid flows check the box next to ID tokens and press save.
Great. Now your application is registered in Azure!
Configuring the Identity Server Plugin
Now we can move to configuring your Identity Server. Make sure your have the Client ID and Tenant ID from the previous step 5. Here we will take claims from the azure token on login, and normalize them for use with our sitecore. The benefit of this, is really we are decoupling CM from Azure. Should your organization in the future decide to go away from Azure, you can swap out the Azure AD plugin, for another SSO service plugin, and you wont have to make any changes to your CM. The Azure AD plugin is given to us from Sitecore by default, so thankfully, we only really need to make some configuration changes. If you in the future planned on integrating with another SSO, you might need to code up your own plugin.
-
First we need to enter in some general settings. In the top area we need to change a few things
<Enabled>true</Enabled>First we need to enable the Azure AD plugin, simply changed the
<Enabled>totrue<ClientId>{Place ClientId here}</ClientId>
<TenantId>{Place TenantId here}</TenantId>
Remember the ClientID and TenantID we wrote down earlier? You'll want to place them in the top section as well.
-
After configuring the top area, the rest of the configuration is where we setup our claims. In the example config, you should see some default options. We'll keep it simple here for the sake of the example. In this snippet, were setting all users in a specific group as admin, and then all users in another group as part of the intranet/User role. (intranet is not a default domain and you may need to create it)
<AzureADUserToAdminUser type="Sitecore.Plugin.IdentityProviders.DefaultClaimsTransformation, Sitecore.Plugin.IdentityProviders"> <SourceClaims> <Claim1 type="groups" value="{Group ID for all Sitecore Administrators}" /> </SourceClaims> <NewClaims> <Claim1 type="http://www.sitecore.net/identity/claims/isAdmin" value="true" /> </NewClaims> </AzureADUserToAdminUser> <GroupToRoleIntranetUser type="Sitecore.Plugin.IdentityProviders.DefaultClaimsTransformation, Sitecore.Plugin.IdentityProviders"> <SourceClaims> <Claim1 type="groups" value="{Group ID for all users of the Intranet}" /> </SourceClaims> <NewClaims> <Claim1 type="role" value="intranet\User" /> </NewClaims> </GroupToRoleIntranetUser> -
On top of assigning security roles, we also normalize user information sent through the token.
<UPNTransformation type="Sitecore.Plugin.IdentityProviders.DefaultClaimsTransformation, Sitecore.Plugin.IdentityProviders">
  <SourceClaims>
    <Claim1 type="http://schemas.xmlsoap.org/ws/2005/05/identity/claims/upn" />
  </SourceClaims>
  <NewClaims>
    <Claim1 type="upn" />
  </NewClaims>
</UPNTransformation>
<NameTransformation type="Sitecore.Plugin.IdentityProviders.DefaultClaimsTransformation, Sitecore.Plugin.IdentityProviders">
  <SourceClaims>
    <Claim1 type="http://schemas.xmlsoap.org/ws/2005/05/identity/claims/name" />
  </SourceClaims>
  <NewClaims>
    <Claim1 type="name" />
  </NewClaims>
</NameTransformation>
<EmailAddressTransformation type="Sitecore.Plugin.IdentityProviders.DefaultClaimsTransformation, Sitecore.Plugin.IdentityProviders">
  <SourceClaims>
    <Claim1 type="http://schemas.xmlsoap.org/ws/2005/05/identity/claims/emailaddress" />
  </SourceClaims>
  <NewClaims>
    <Claim1 type="email" />
  </NewClaims>
</EmailAddressTransformation>
This is just a small sample of the type of claims you can transform and normalize for sitecore. More information on this in Sitecore's official docs here.
- Ok, now that we've input our information from Azure AD, save this file and restart the Identity Server in IIS. (Note: Identity server does not automatically restart when you edit a configuration file like on CM/CD, if you make more changes, you'll need to restart the server to see its effects.) Once the server restarts, go ahead and navigate to your
/sitecore/loginon your CM server. You should now see a new Azure AD button in your sitecore login!
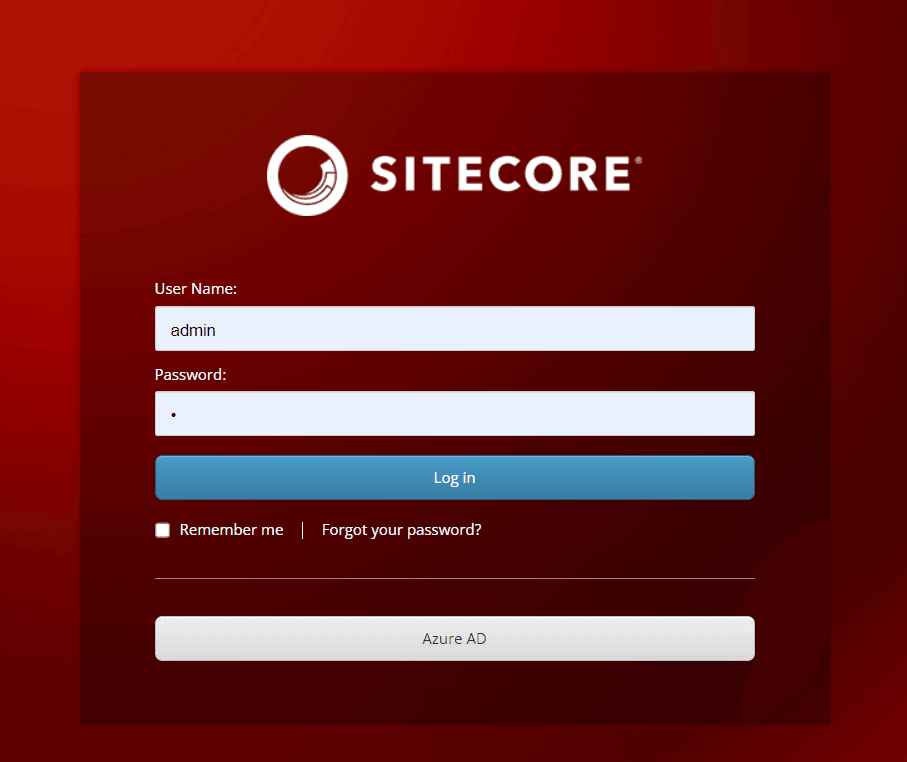
Now users with backend access should be able to login using the Azure account! This works great for content editors and developers, but what about your front end users? Next we'll tackle this.
Using the Azure AD Plugin for your Intranet Users
To utilize the Azure AD plugin for your front-end users. We need to add some patch configurations. In this section we will register Identity Server as a sub-provider for the front end, edit the website configuration to require login, and automatically set the login path to route to Azure (by doing this, your front-end users don't need to see the Sitecore login page, and skip directly to Azure AD login.)
-
First lets create a patch configuration to register the Azure AD login as a sub-provider. Make sure this is inside your App_Config/Include folder.
<configuration xmlns:patch="http://www.sitecore.net/xmlconfig/" xmlns:role="http://www.sitecore.net/xmlconfig/role/" xmlns:set="http://www.sitecore.net/xmlconfig/set/">
	<sitecore role:require="Standalone or ContentDelivery or ContentManagement">
		<federatedAuthentication>
			<identityProvidersPerSites>
				<mapEntry name="all sites" type="Sitecore.Owin.Authentication.Collections.IdentityProvidersPerSitesMapEntry, Sitecore.Owin.Authentication">
					<identityProviders hint="list:AddIdentityProvider">
						<identityProvider ref="federatedAuthentication/identityProviders/identityProvider[@id='SitecoreIdentityServer/IdS4-AzureAd']" />
					</identityProviders>
				</mapEntry>
			</identityProvidersPerSites>
			<identityProviders>
				<identityProvider id="SitecoreIdentityServer/IdS4-AzureAd" type="Sitecore.Owin.Authentication.Configuration.DefaultIdentityProvider, Sitecore.Owin.Authentication">
					<param desc="name">$(id)</param>
					<param desc="domainManager" type="Sitecore.Abstractions.BaseDomainManager" resolve="true" />
					<caption>Log in with Sitecore Identity: Azure AD</caption>
					<icon>/sitecore/shell/themes/standard/Images/24x24/msazure.png</icon>
					<domain>intranet</domain>
				</identityProvider>
			</identityProviders>
		</federatedAuthentication>
	</sitecore>
</configuration>
This configuration should work for the default implementation. What this configuration does is register your Azure AD plugin on Identity Server to be used on CM on the front-end, allowing it to be used for more than just the back-end authentication.
-
Next, we need to edit your site configuration to require login, and tell it where users will login. This will vary depending on how your site is configured, but the general gist is under your
<site>node you'll want to addrequireLogin="true"and more importantly, you'll want to addloginPage="$(loginPath)website/SitecoreIdentityServer/IdS4-AzureAd"where "website" is your website name. The(loginpath)should be set by default if your installation that comes with identity server.
After you add these patch configurations, go ahead and deploy to your CM and CD servers, and voila! Your site now will now automatically redirect users to login through Azure Active Directory!
Thanks for reading through, and I hope this works great for you. Should you run into any issues, feel free to message me on LinkedIn or even reach out to me via email.